Guía de mochila tamaño
Table of Contents
- 1. How Do You Know If A Backpack Fits You: Measuring Your Torso
- 2. Is It Better To Size Up Or Down A Backpack?
-
3. How Much Volume Should A Backpack Have?
4. What Size Backpack Do I Need For 2 Weeks In Europe? - 5. Adjustability Matters
- 5.1. Compression Straps
5.2. Waist/Hip belt
5.3. Shoulder strap
5.4. Chest belt
5.5. Lift Loader
5.6. Make Adjustments Along The Way
6. How To Get The Correct Backpack Ergonomics -
6.1. Pack Light
6.2. Compartments and Pockets
6.3. Keep Items From Shifting
6.4. Use Both Shoulder Straps
6.5. Lift Your Backpack With The Right Posture
7. Find Your A CabinZero Backpack Fit
7.1. CabinZero Backpack Size Calculator Based On Back Panel Length
7.2. CabinZero Backpack Size Calculator Based On Volume
8. How Is Volume On CabinZero Backpack Measured?
9. Ready To Find Your Perfect Pack Size?
Learning how to find the right backpack size for yourself is essential. Whether you're gearing up for a weekend hike or a globetrotting adventure, you’d want the pack to fit you and snuggle as much as possible.
But with so many options available, how do you pick the perfect fit? This guide will walk you through the essential steps to find a backpack of the right size for your needs.
With a little bit of reading and measurement, we can save you from unnecessary backaches. Now, let's get down to the nitty-gritty of finding the perfect fit. Backpacks and body shapes come in all shapes and sizes. So there’s no one-size-fits-all solution.
Essentially, it all boils down to these three areas:
- Backpack fit
- Backpack volume
- Backpack adjustability.
How Do You Know If A Backpack Fits You: Measuring Your Torso
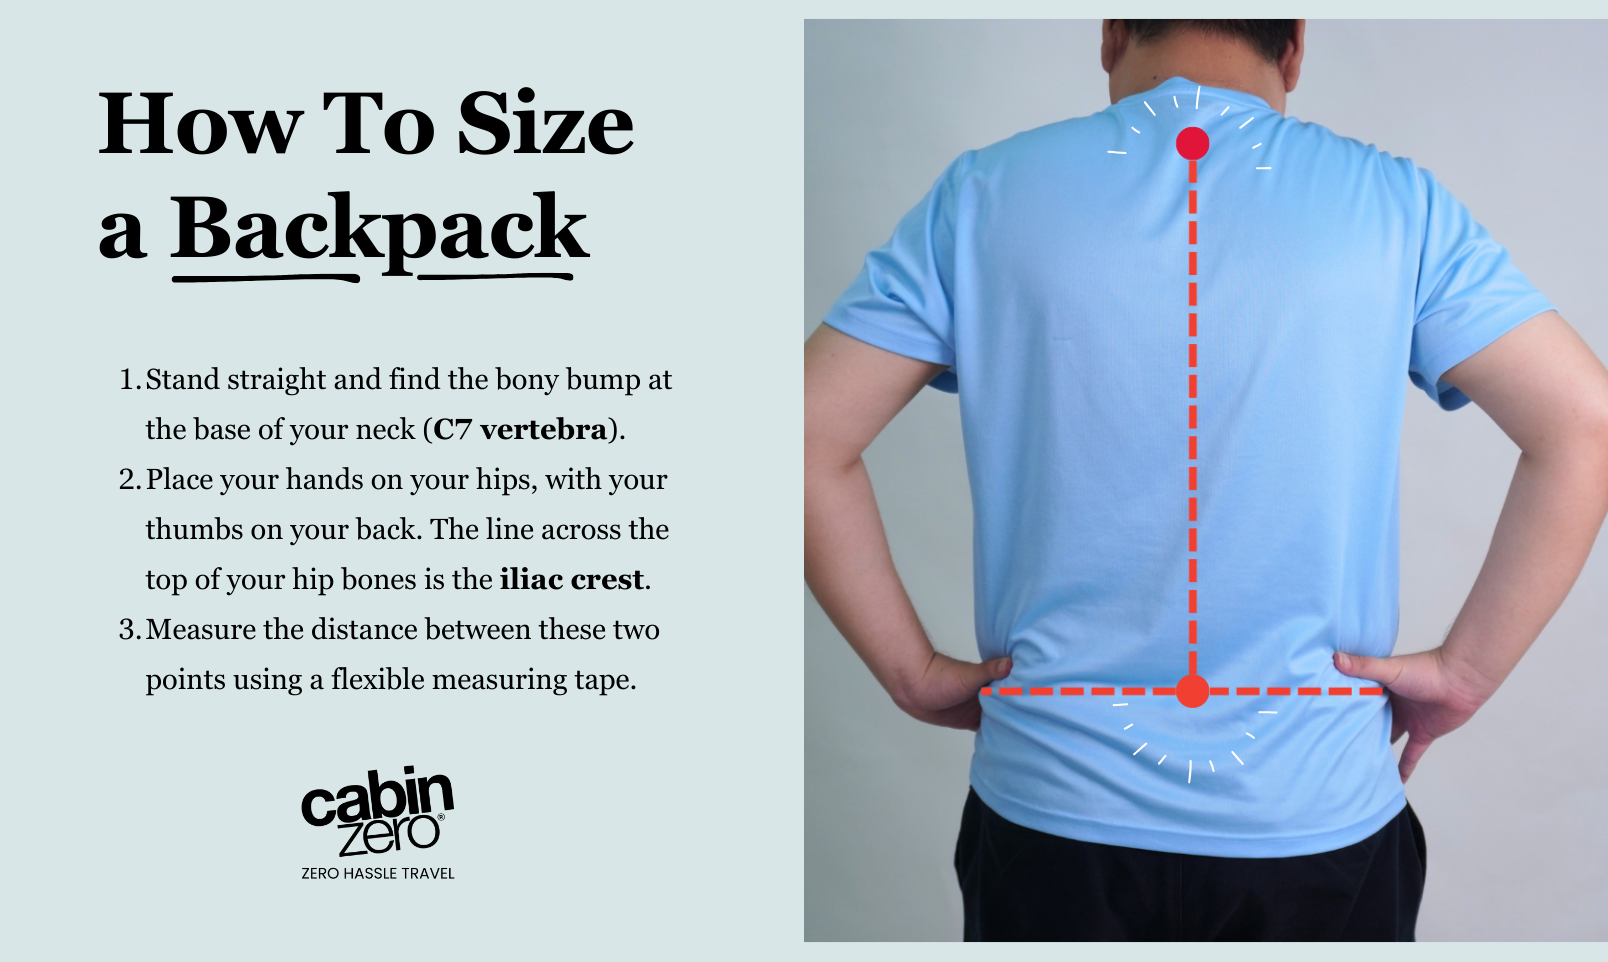
Your torso length is the distance between your seventh cervical vertebra (the bony bump at the base of your neck) and the top of your hip bones.
The first step is to measure your torso length (not your height). This measurement will help you determine the ideal backpack size for your body.
- Stand straight with good posture.
- Find the bony bump at the base of your neck (C7 vertebra).
- Place your hands on your hips, with your thumbs on your back. The line across the top of your hip bones is the iliac crest.
- Have someone measure the distance between these two points using a flexible measuring tape.
- Compare your torso measurements with the backpack length to get an overall idea of how a pack fits your body.
Get your torso measurement? Then, you just need to compare it to the according backpack size chart. It’s that simple.
Is It Better To Size Up Or Down A Backpack?
In general, it's recommended to size down a backpack if you're in between sizes. A too-large backpack can cause the weight to ride too low on your back and also flop around more while you're walking. Moreover, a smaller backpack encourages you to pack more efficiently, which results in a lighter overall load and increased comfort.
However, there are some situations where sizing up might be preferable. For instance, If you have a long torso and the straps on the smaller size are already at their maximum adjustment, then sizing up might be necessary. Larger backpacks are also better for specialised/winter equipment.
That said, the key here is fit over size. Regardless of the capacity, the backpack must fit your body properly. This means the length of the backpack should match your torso length, and the hip belt should sit snugly around your hips.
How Much Volume Should A Backpack Have?
This is the age-old question every traveller has to ask themselves. Something too big will make you feel like a turtle carrying its entire home on its back. On the other hand, anything that's too small will make you struggle to fit in all your essentials.
The answer is it depends on your needs and uses. Typically, backpack volumes are measured in litres. And here’s how you can choose the perfect size and volume based on your needs:
- Daily Use and Commuting: 15-20L
- Day Hikes and overnight trips: 20-30L
- Multi-day backpacking: 50-70L.
There are 70+ packs out there, but we don’t recommend going for those unless you need to bring winter gear, a sleeping bag, a tent, food supplies, etc. Generally, an extended trip that lasts more than a week with extreme activities or backpacking will call for that much stuff.
What Size Backpack Do I Need For 2 Weeks In Europe?
Some minimalist travellers may make do with a 20-30L backpack (even 15L ones). However, for most people, we would advise going for 30-45L. The best way to go about this would be to pack what you intend to bring, then carry it and walk around to have a feel for it.
There are some hiking backpacks out there that are suitable for rugged, heavy-duty trips. Unless you plan to spend a month trekking around Patagonia, we don’t recommend going for those. Most folks just need a light backpack so they can easily navigate between hotels (which may or may not have a lift), train stations, airports, etc.
Here is what you should look for in the best backpacks for European travel:
- Lightweight (around 30-45L and less than 3 pounds)
- Good origination with quick-access pockets and water bottle holder
- Padded hip belt, chest belt, and lift loader for comfort
- Padded back panel and shoulder straps
- Laptop sleeve if you can’t travel without your laptop
- Self-standing so you don’t bother other people, especially on public transport.
Adjustability Matters
Besides measuring your backpack size and fit, learning how to pack and adjust your backpack is as important. After all, every backpack should have some degree of flexibility for more comfort. Different body types and torso lengths require distinct levels of adjustment for optimal comfort.
Step-by-step Guide To Put On Your Backpack The Right Way
Remember, it’s imperative to test-drive your backpack before embarking on a journey, especially if you plan some serious activities. Don't just eyeball it—try on the backpack before making a purchase.
- Loosen all straps: Start with every strap unfastened and hanging freely.
- Load your backpack: Load it up with some weight to see how it feels on your back. Start with around 7-10kg (the usual amount of a carry-on) and pack heavier items closer to your back.
- Compression straps: Use them to compress the load, reducing bulk and ensuring a snug fit.
- Put on the backpack: Stand tall and lift the backpack onto your shoulders.
- Hip belt first: Buckle the hip belt securely around your hips. It should rest on your hip bones, not your waist.
- Tighten shoulder straps: Adjust the shoulder straps until the backpack feels snug and secure on your back without digging into your shoulders. Aim for a slight Y-shape where the straps meet at your collarbone.
- Fine-tune chest strap: Fasten the chest strap across your sternum without restricting your breathing. You should be able to fit one finger under the strap.
- Pull the lift loaders: Cinch the tops of the loads close to your body to prevent the pack from swaying. Don’t put them too high over your shoulder, though.
- Break it in and micro-adjust along the way: Give it a few walks and see if everything is comfortable. Tighten or loosen your straps or repack as needed.
Compression Straps
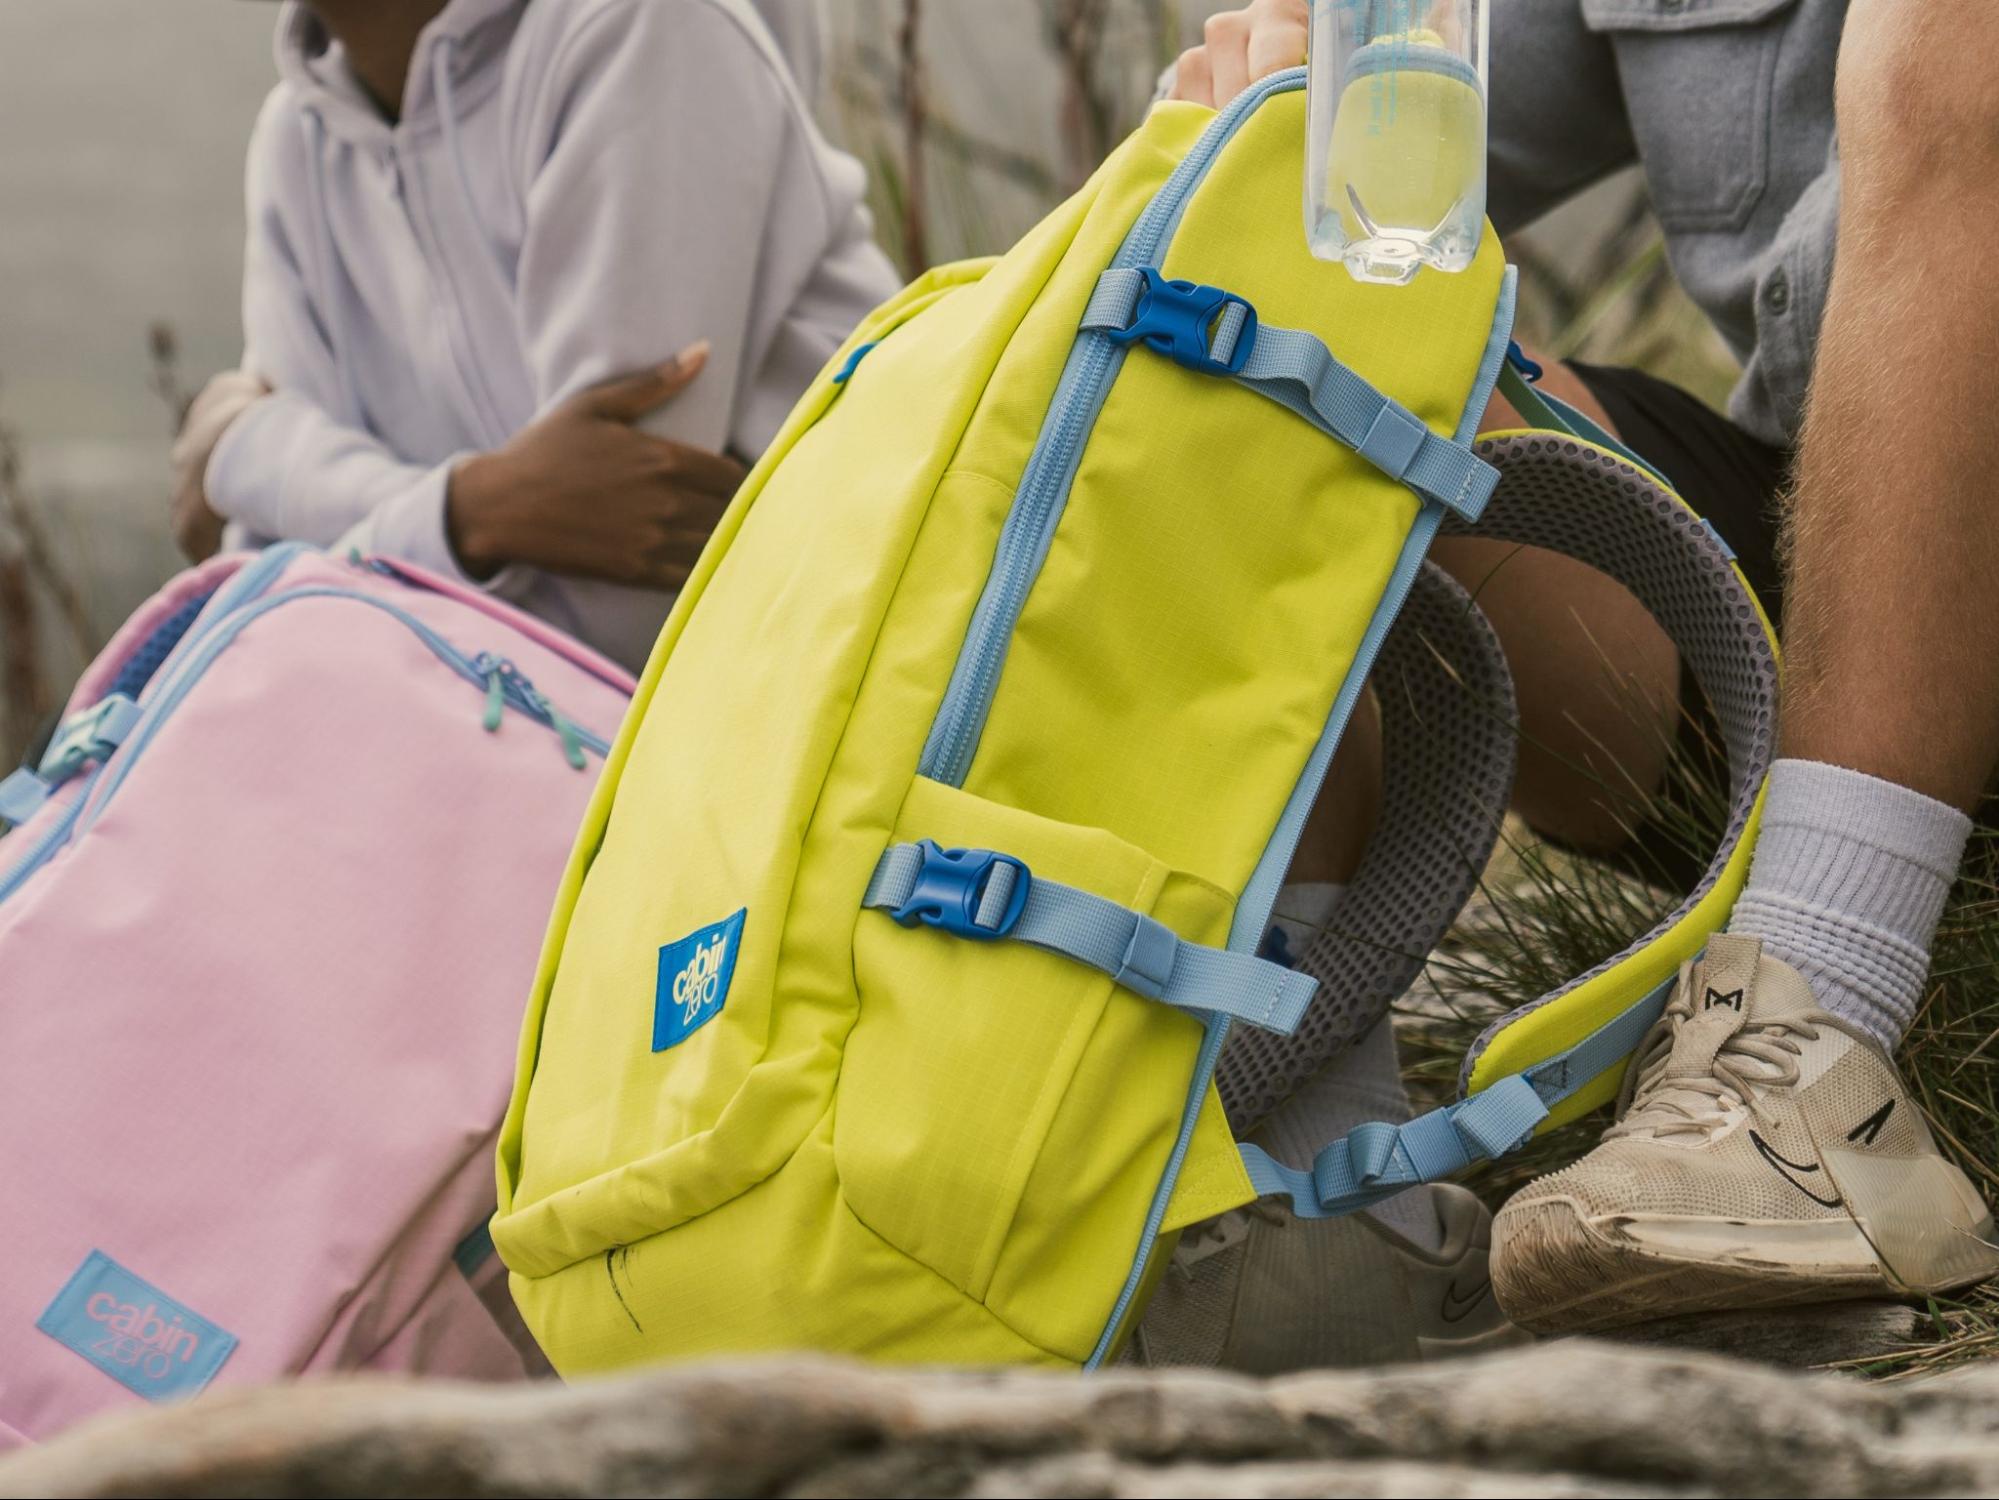
What It Does: By tightening the straps, you can compress the backpack's volume, making it smaller and easier to carry.
Adjustment Tips: Use the side and bottom compression straps to stabilise your load and prevent it from swaying as you move. The best way to do this is to start tightening from the bottom straps and work your way up. Make sure you do it on both sides of the pack to maintain balance. The tension should not pull too heavily on the zippers, especially around corners, to avoid wear and tear.
Waist/Hip belt
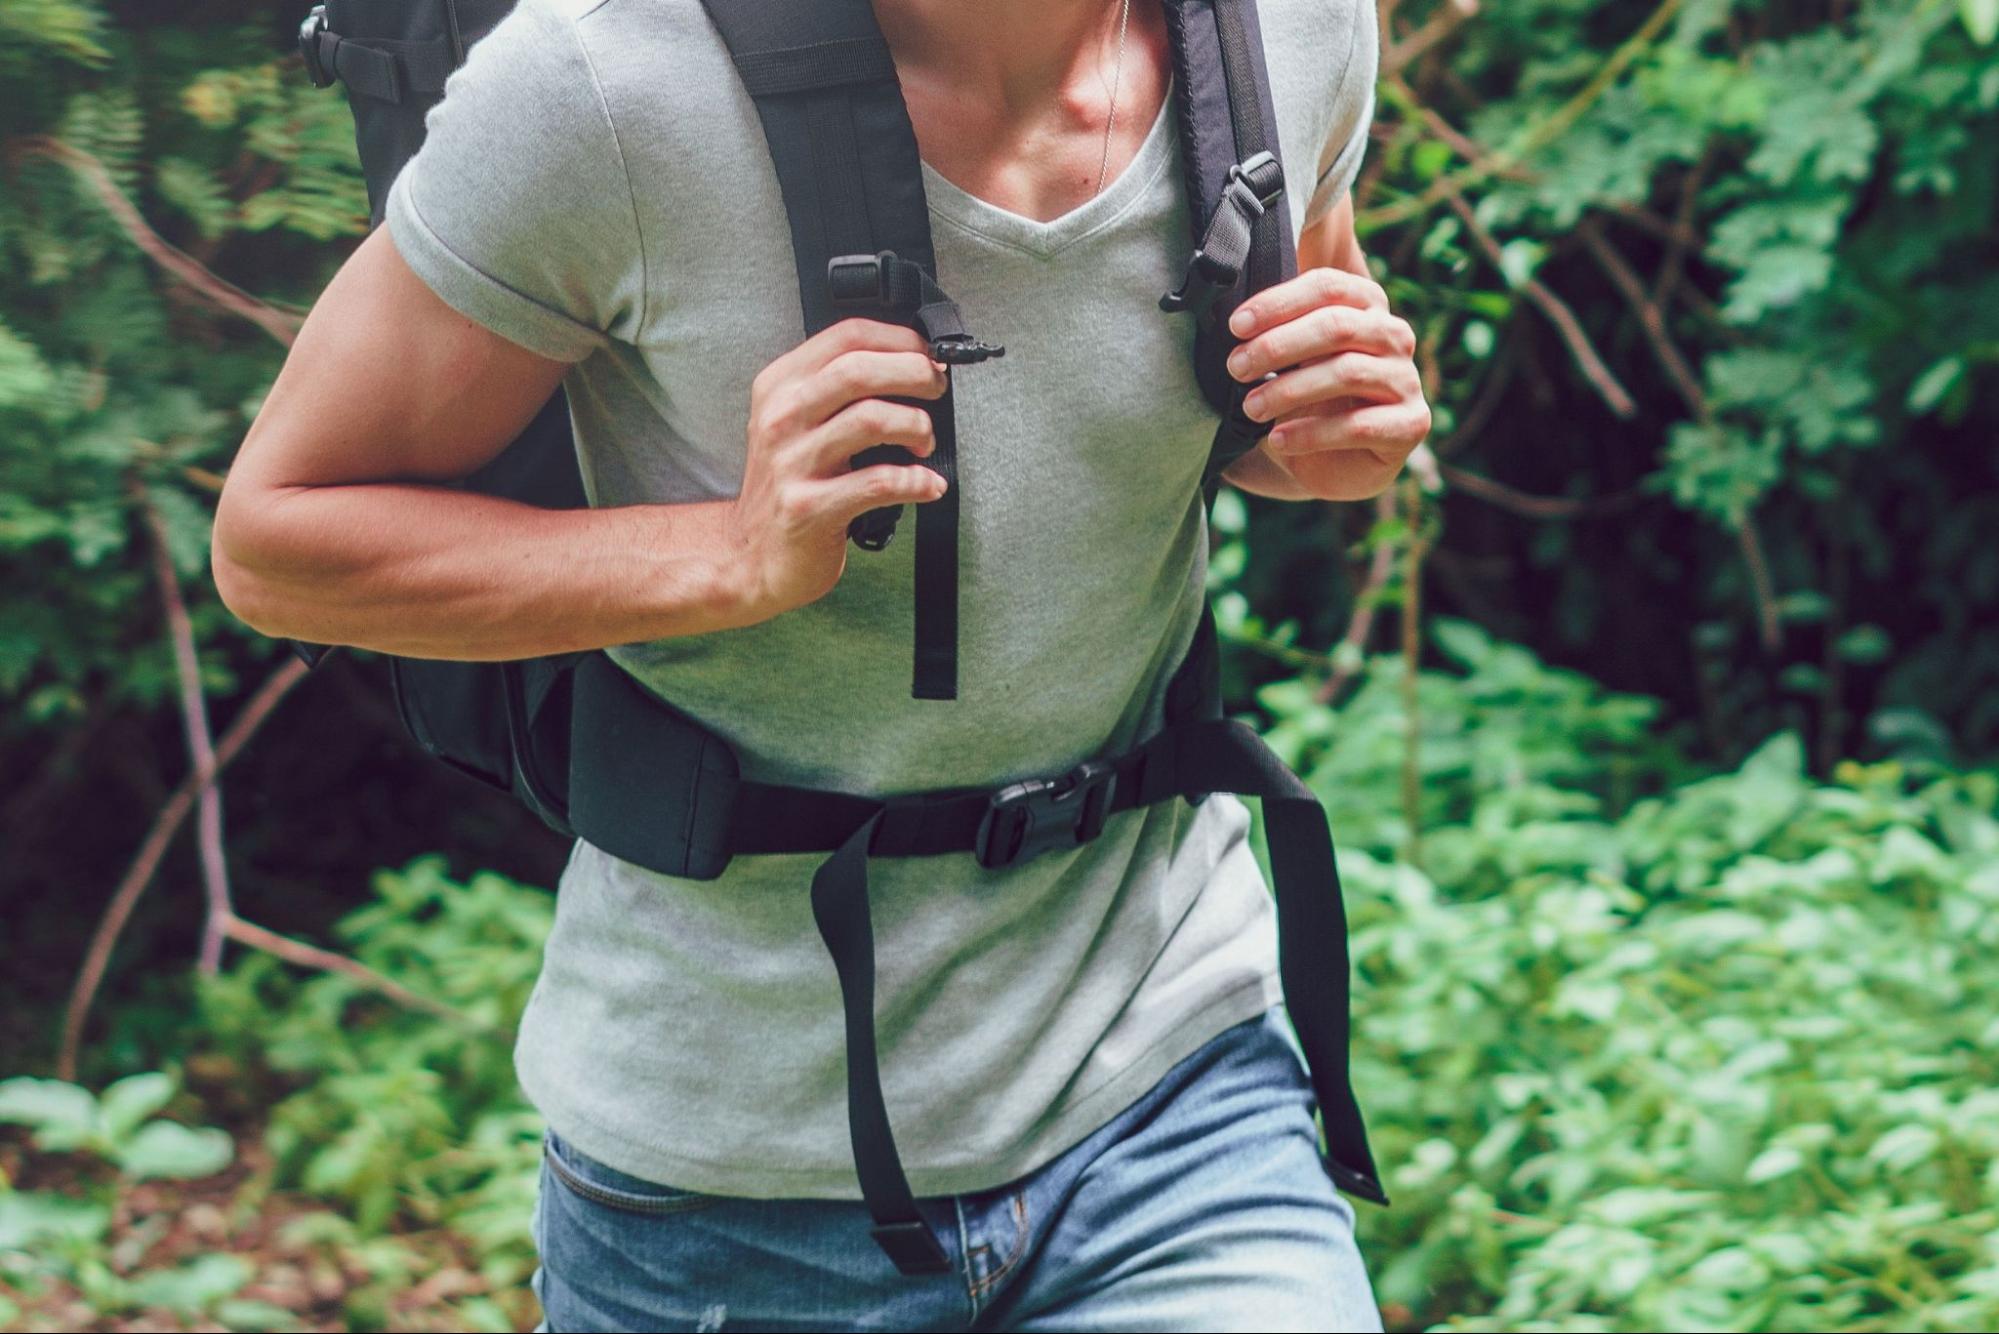
What It Does: It transfers the weight of the backpack from your shoulders to your hips, where your body is stronger and better able to carry heavy loads.
Adjustment Tips: Fasten the belt around the top of your hips, just above your hip bones (around your belly button and higher than where you wear pants). The majority of the pack's weight (about 80%) should rest on your hips, not your shoulders.
Shoulder strap
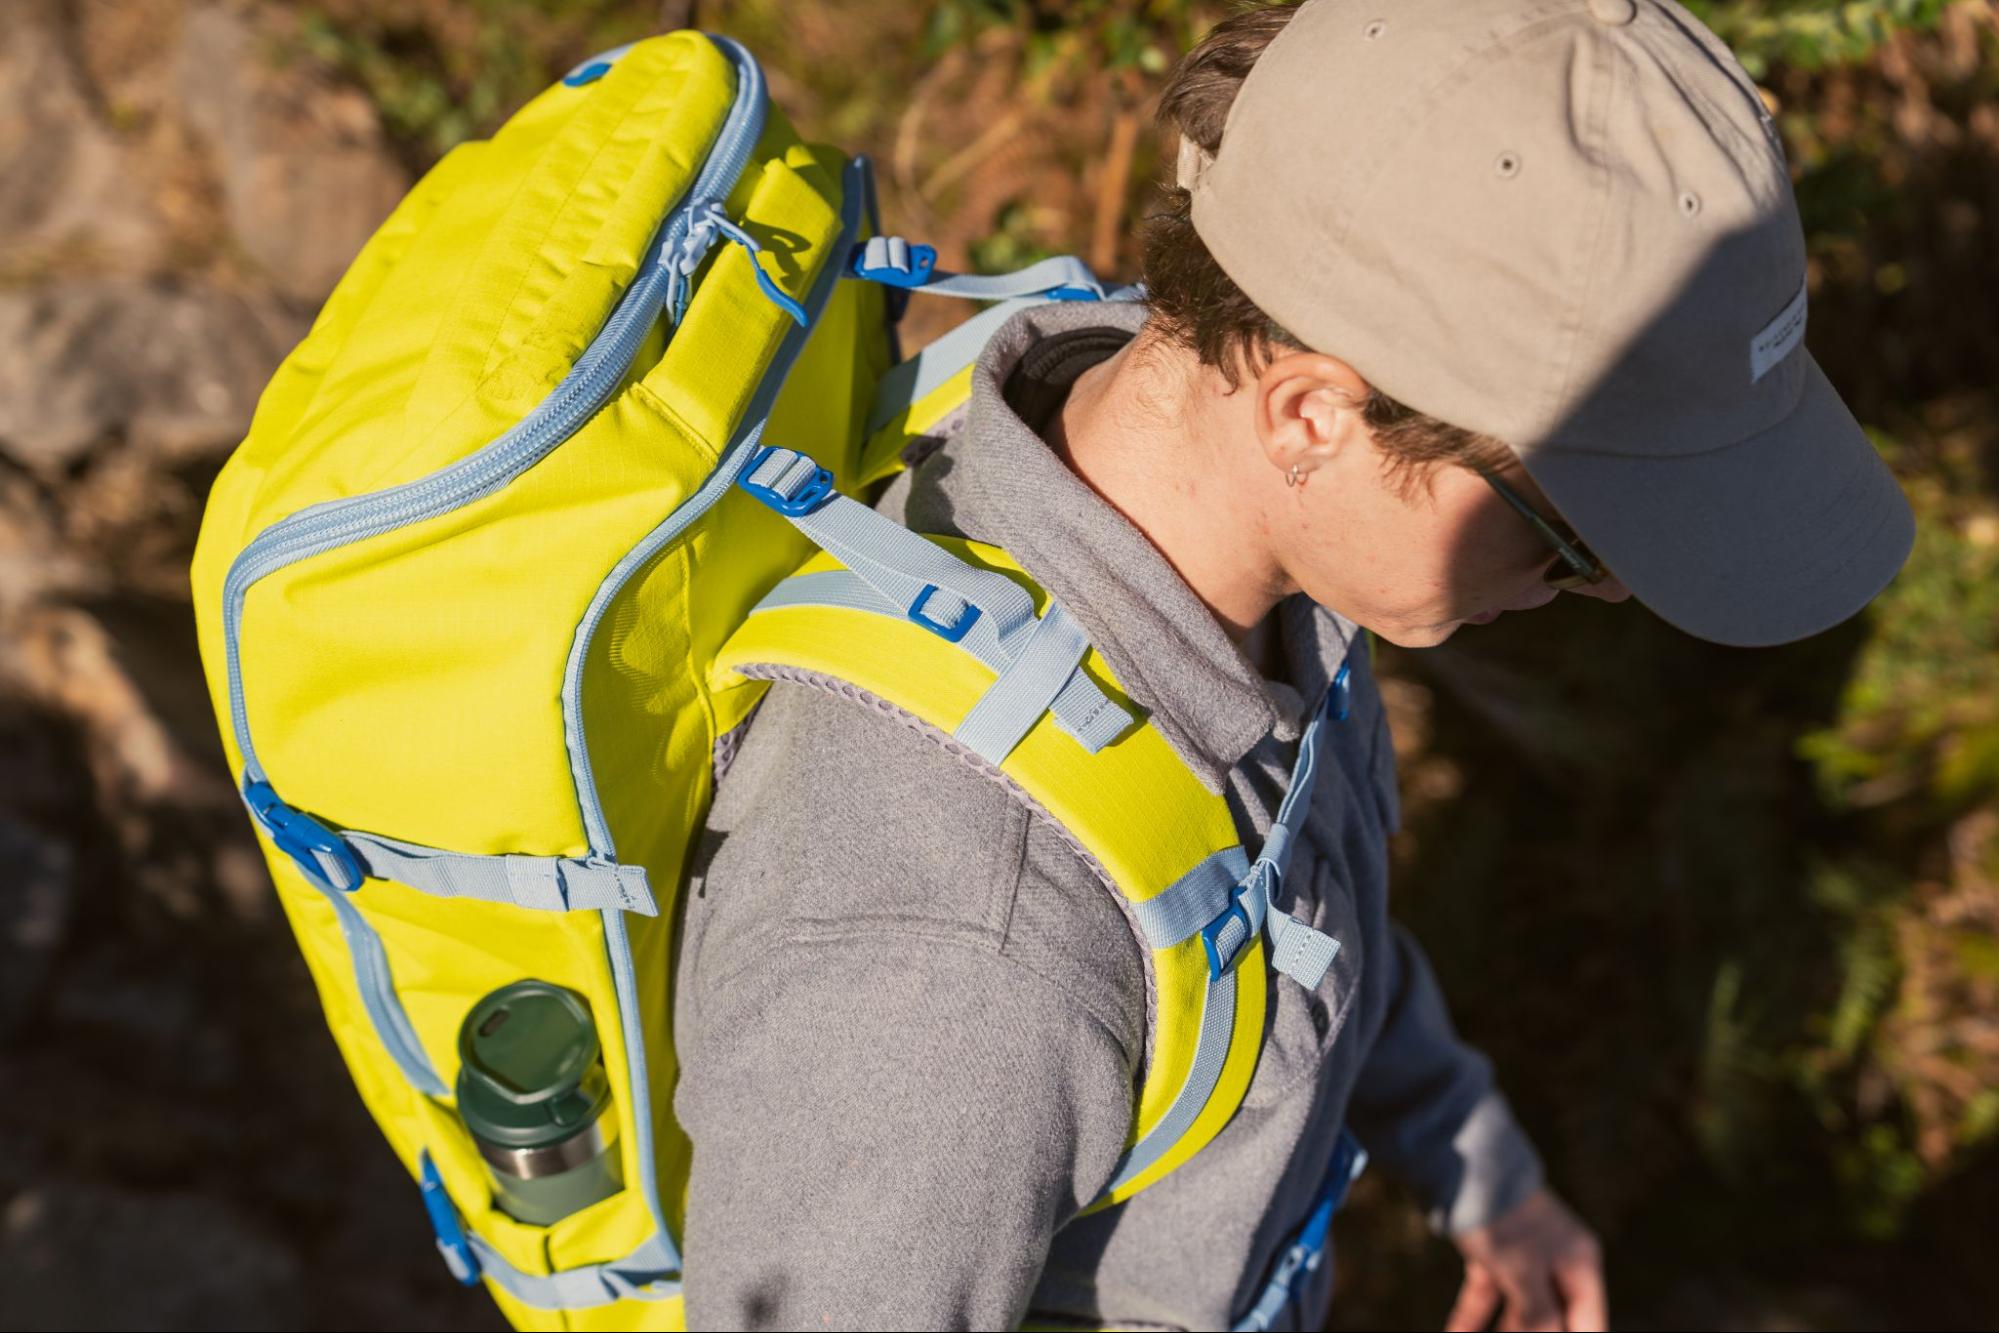
What It Does: Look for padded shoulder straps to prevent the straps from digging into the shoulders and causing discomfort.
Adjustment Tips: Position the backpack snugly against your back, with the top just below your shoulder line. Tighten the straps so the pack does not sag down your back but remains comfortably close to your centre of gravity. You know you get a good fit when you are able to slide two fingers between the straps and your shoulders.
Chest belt
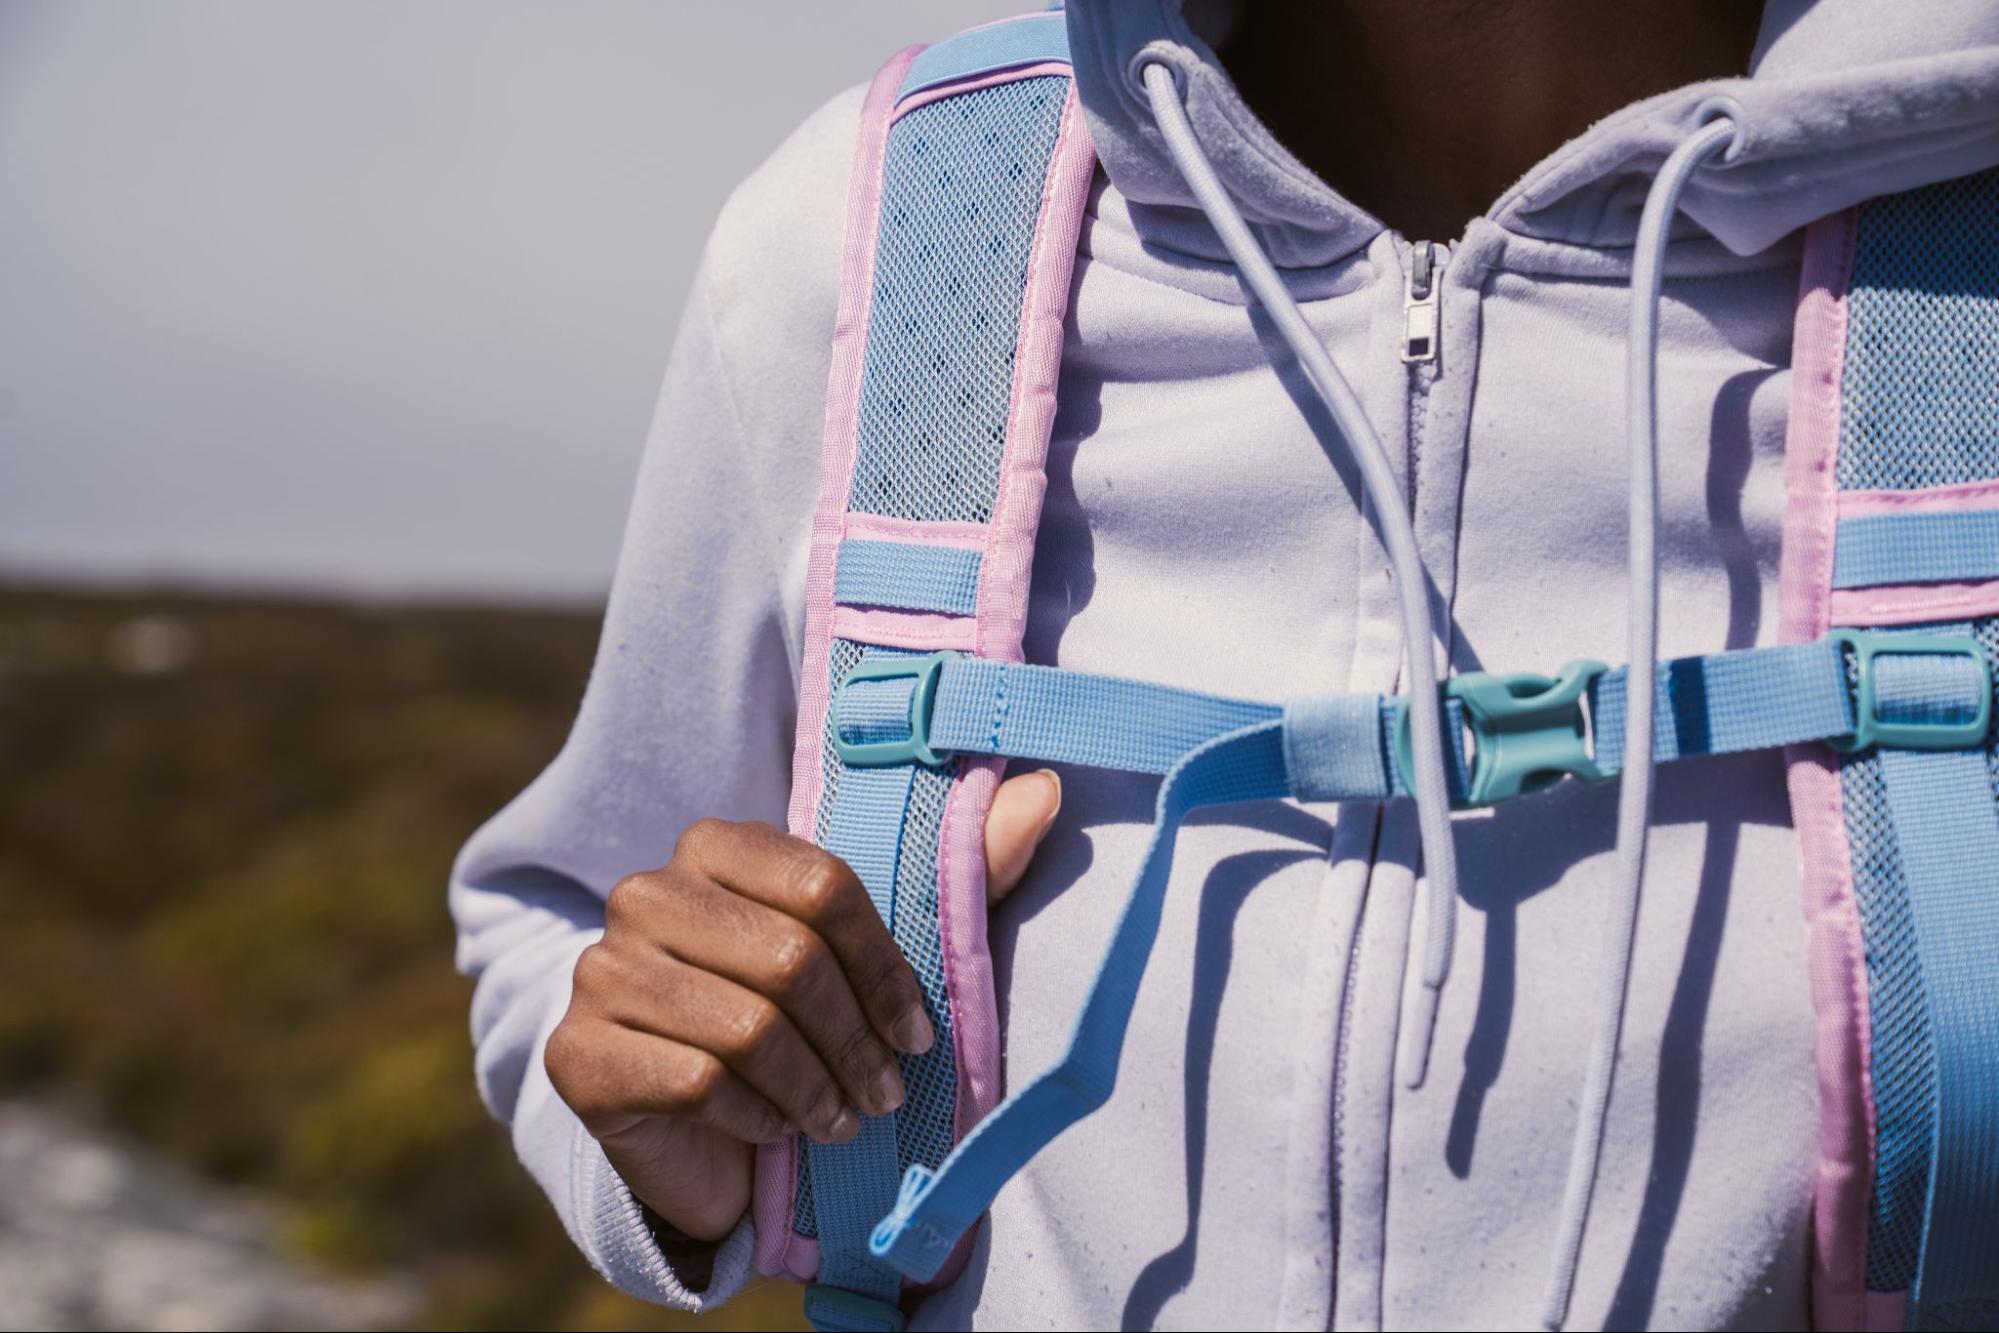
What It Does: Also known as a sternum strap, it helps stabilise the load and prevent the shoulder straps from slipping.
Adjustment Tips: Adjust the chest belt to sit just below your collarbones and tighten it to keep the shoulder straps in place without restricting breathing or your neck.
Lift Loader
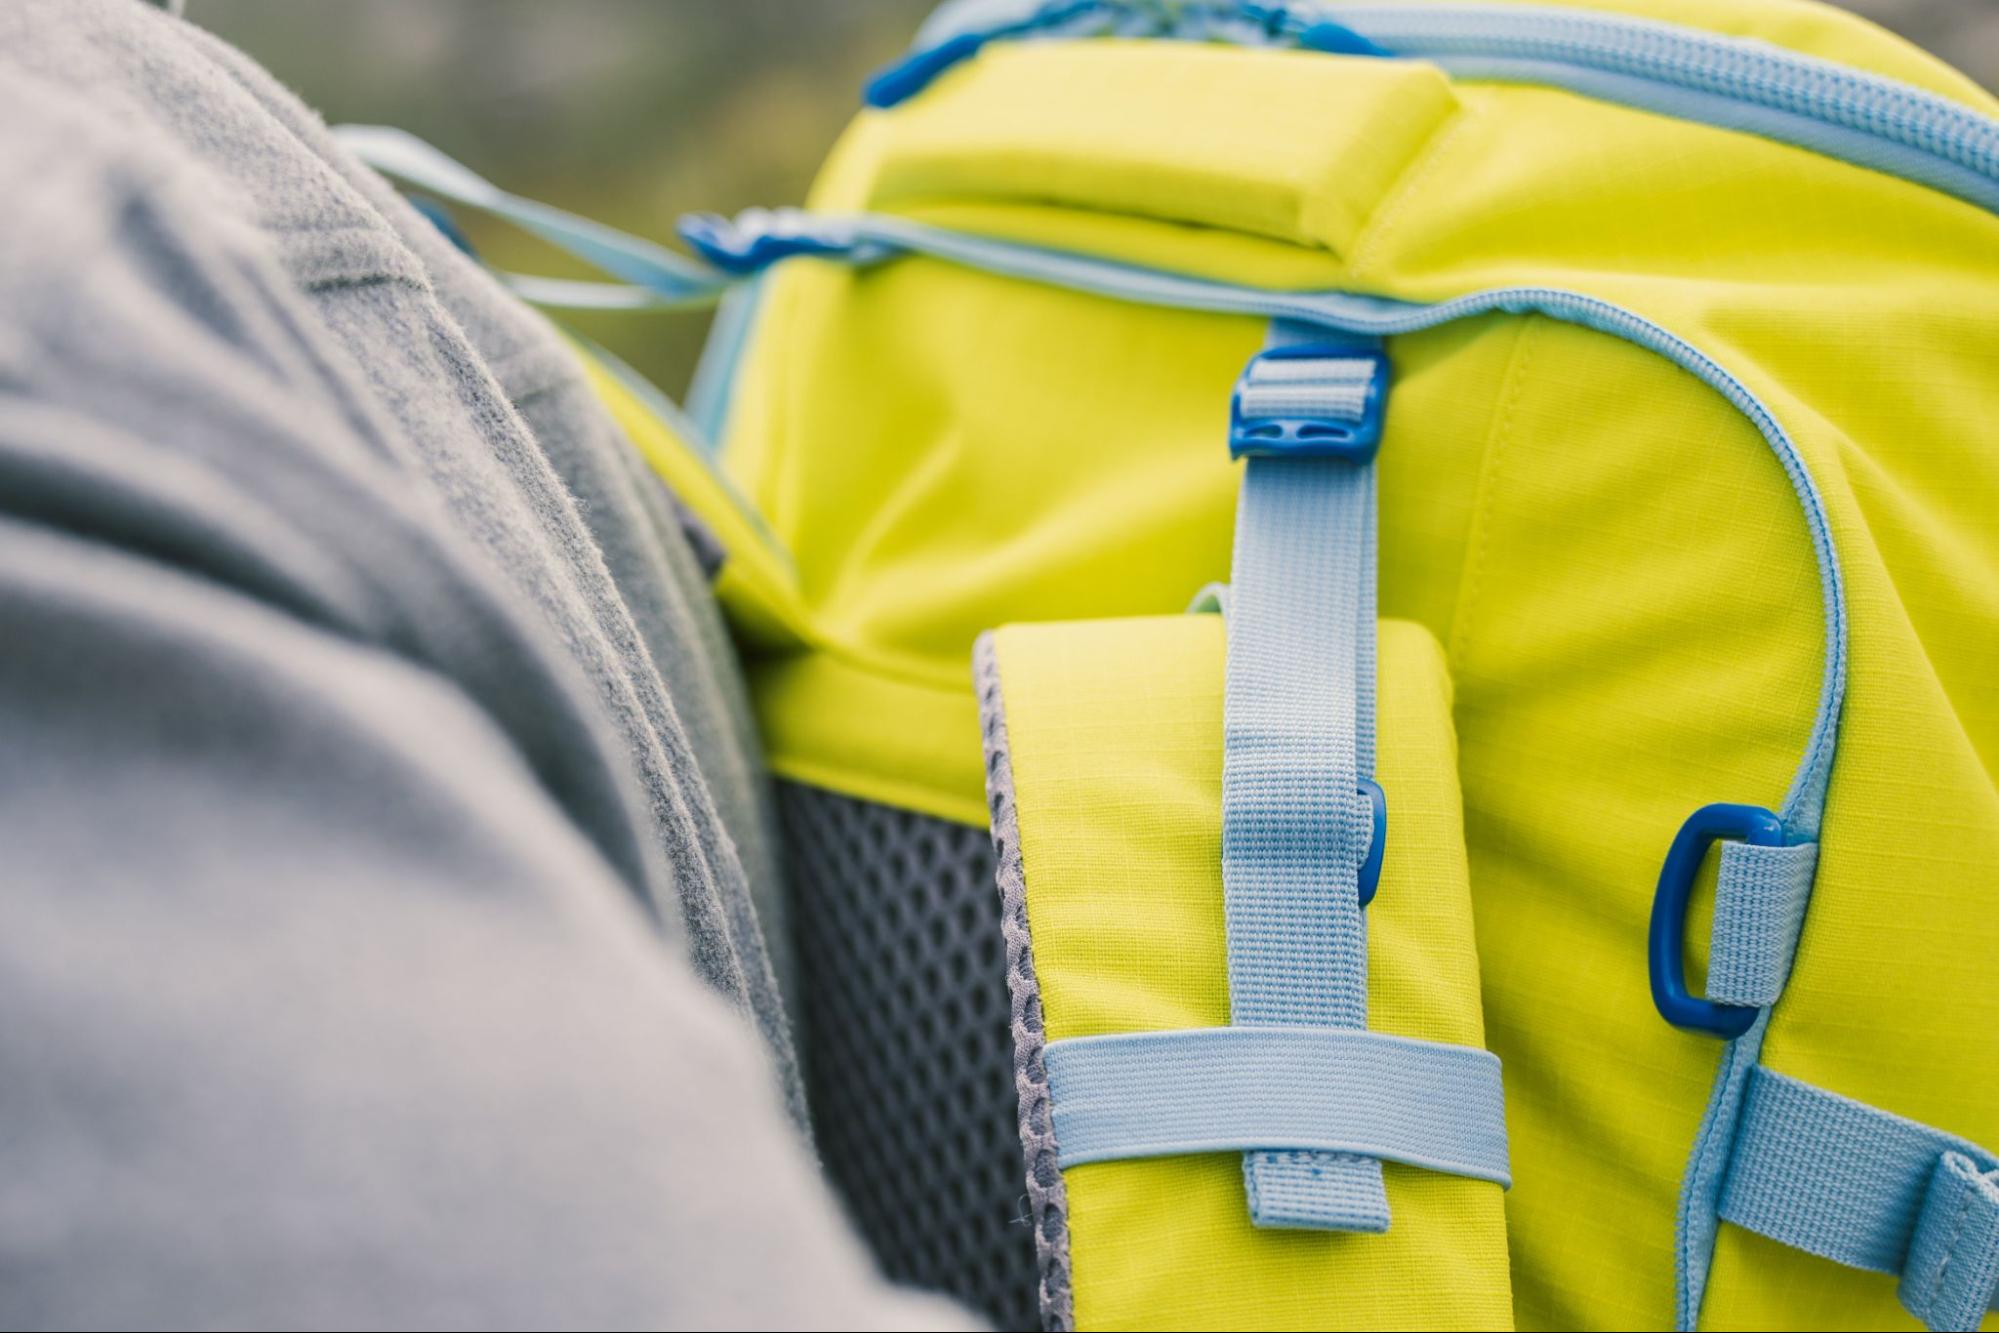
What It Does: These straps, located at the top of your shoulder straps, help pull the weight of the pack closer to your body and reduce the strain on your shoulders and lower back.
Adjustment Tips: After all other straps are properly adjusted, pull the load lifter straps until there's a slight angle (about 45 degrees) between them and the top of your shoulders. Be careful not to overtighten, as this can cause the back panel to bow away from your back, reducing the effectiveness of the waist/hip belt.
Make Adjustments Along The Way
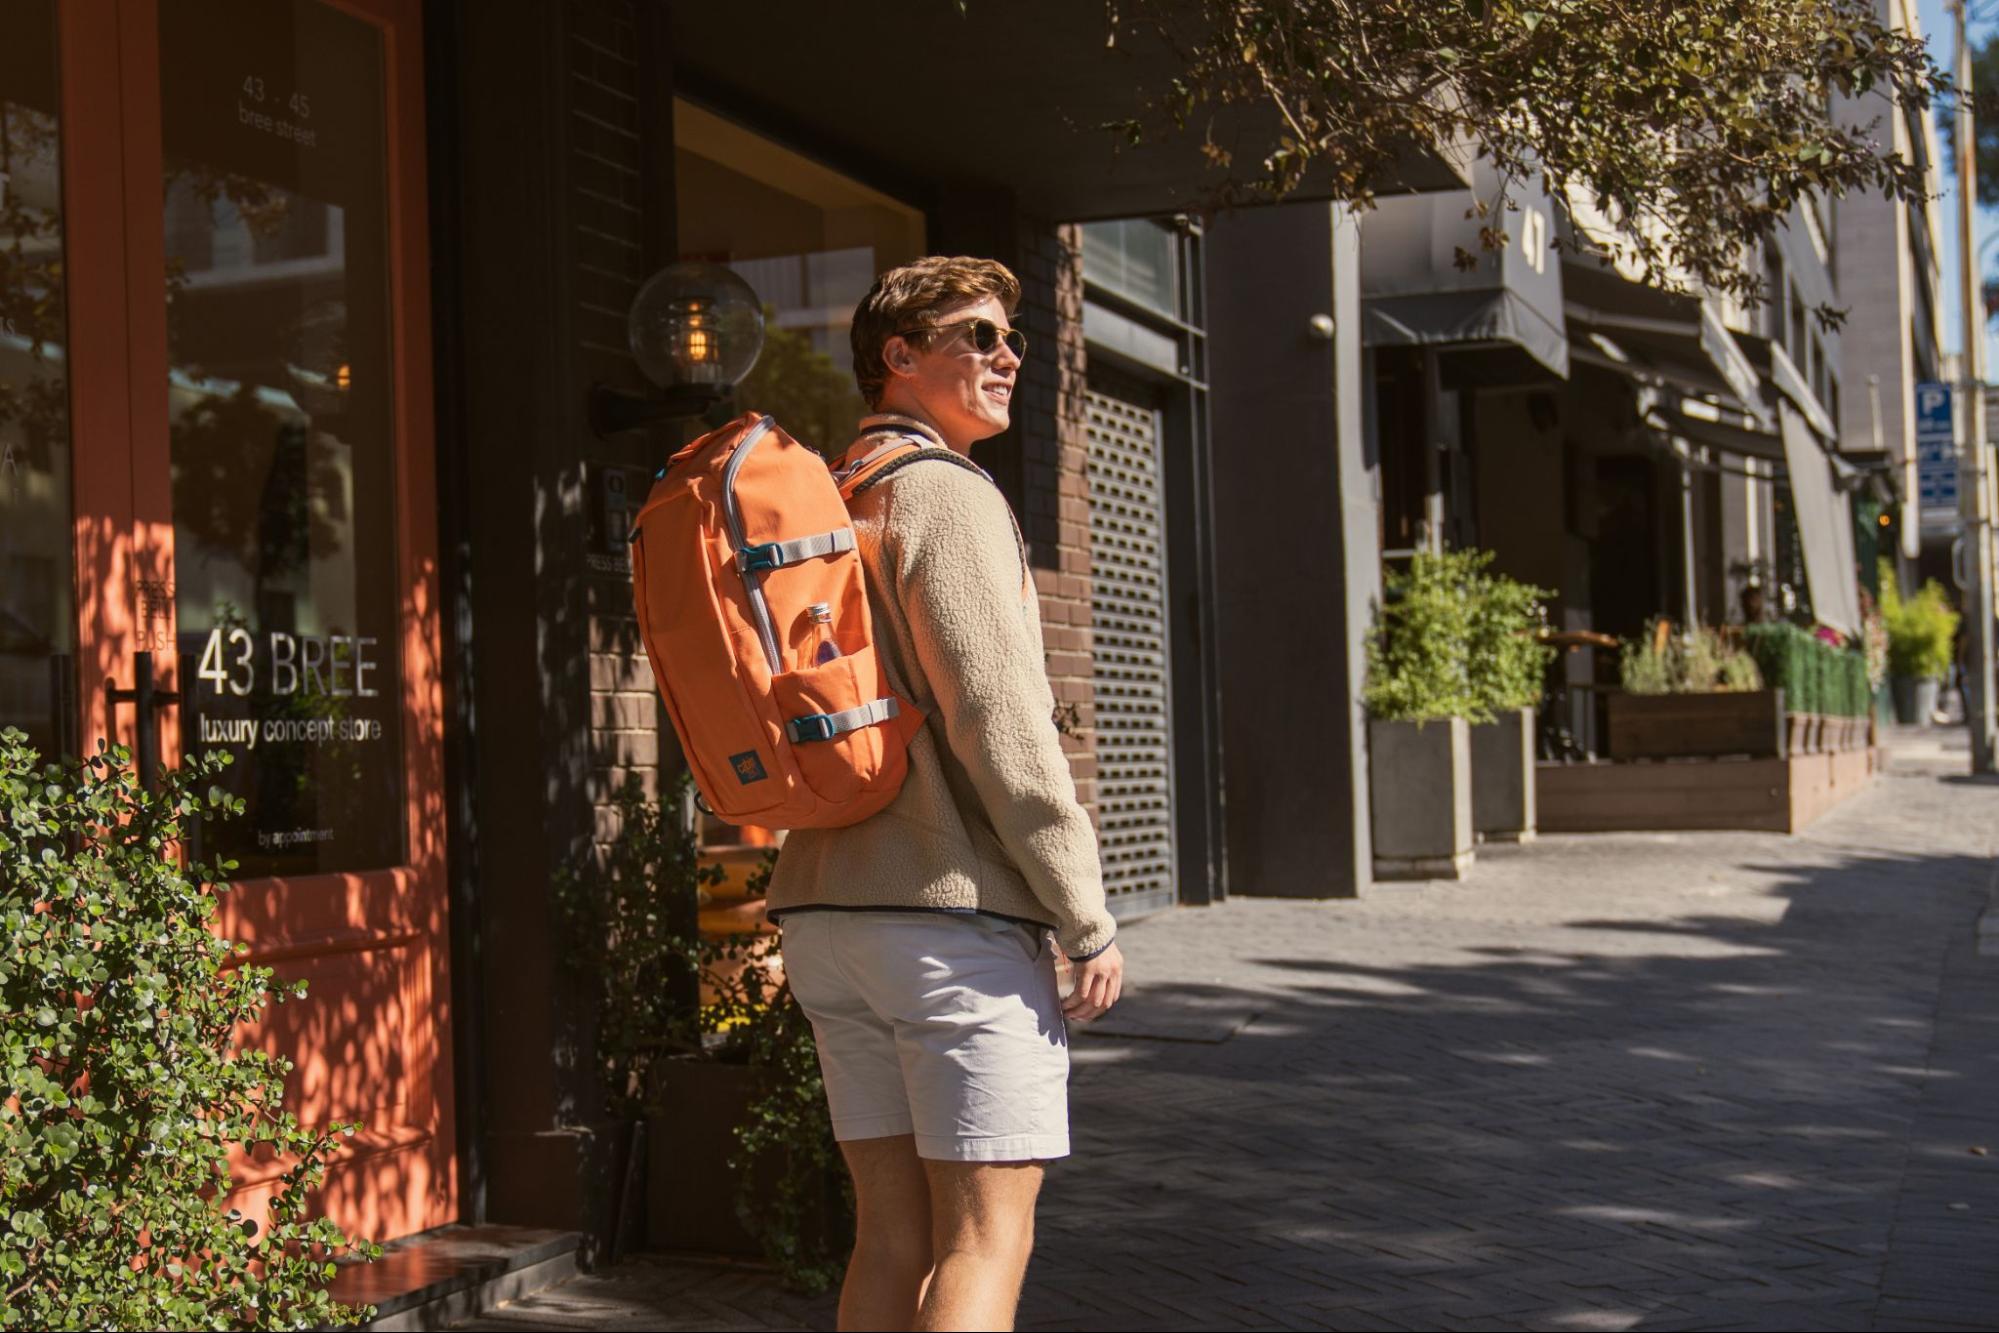
As you walk, you may need to tighten or loosen the straps and belts slightly to balance the load comfortably. Periodically, check everything to see if they remain snug. Sometimes, the best adjustment is to repack your backpack from scratch.
If you're walking for an extended period, take short breaks to take the backpack off and let your back rest. Use this time to adjust any straps and hydrate to maintain your energy.
How To Get The Correct Backpack Ergonomics
Whether you're packing for hiking, travel, or school, the principles of packing remain relatively consistent. Here is what you need to know to carry your backpack comfortably for an extended period.
Pack Light
According to research, carrying a backpack exceeding 10% of your body weight can negatively impact your posture and spine health and limit your range of motion.
Therefore, you should only bring what you need, no “just in case” items. Packing lists and apps are a great help if you want to dip your toes into travelling light. One of the best tricks for packing right is rolling your clothes. This method allows you to save space and avoid creases.
Compartments and Pockets
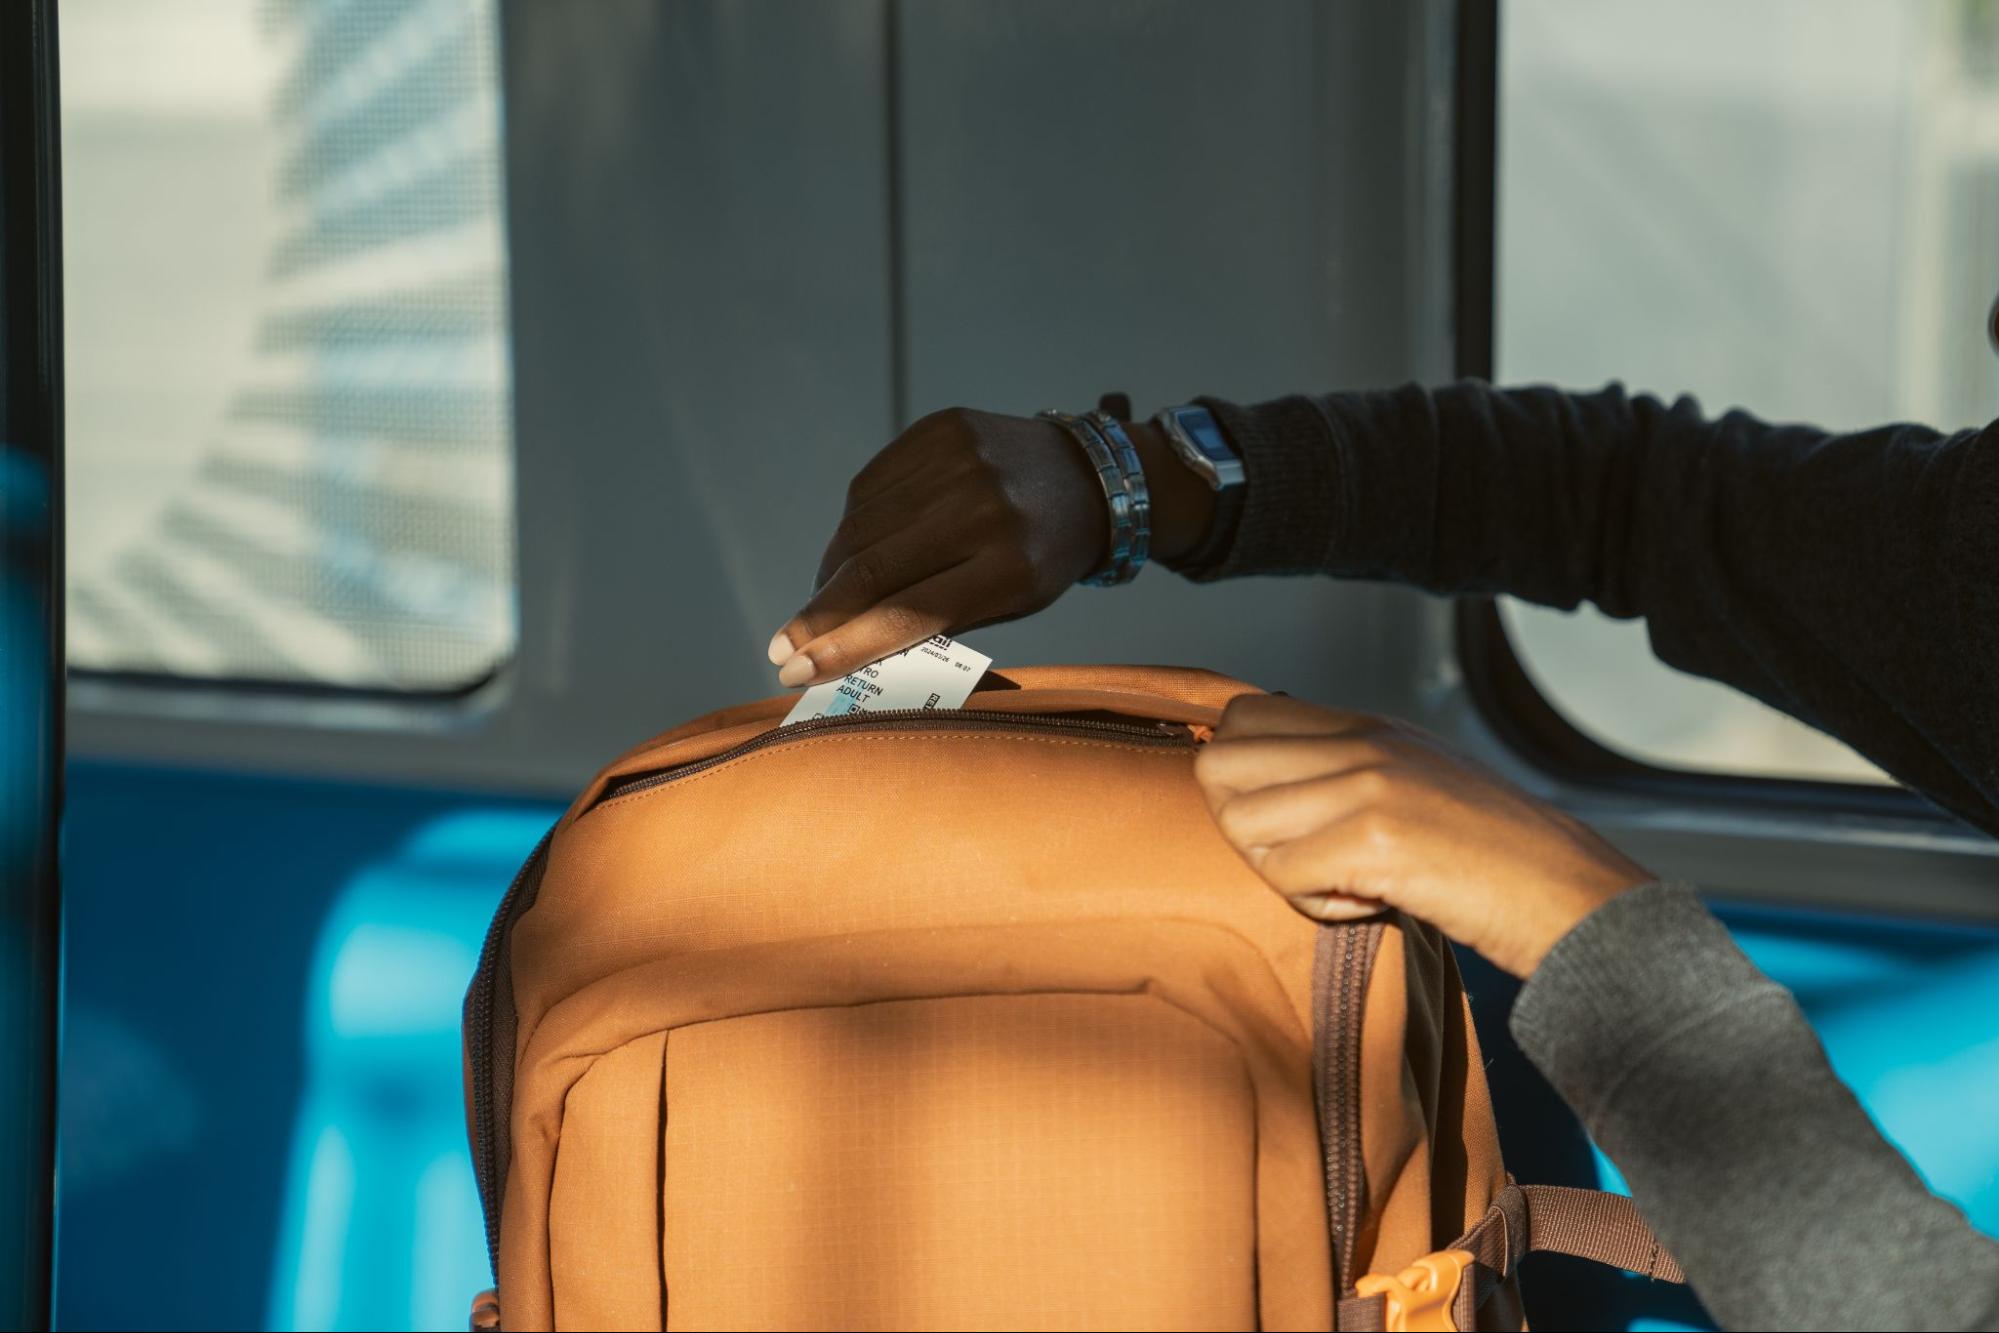
The backpack’s built-in dividers or compartments are more than a tool for keeping things organised and accessible. They not only maintain the pack’s shape and balance but also distribute weight evenly to provide a better fit.
The rule of thumb here is to pack heavier items close to your centre of gravity and smaller items somewhere that are easy to grab.
- Bottom: Place lighter, non-essential items you won’t need immediate access to at the bottom of your backpack. This might include extra layers that you only need at night.
- Middle: Put the heaviest items in the middle of the pack, close to your back. This helps maintain balance and ensures the weight is centred, which is crucial for posture and comfort.
- Top: Place items you need quick access to at the top. This can include your rain jacket, snacks, first-aid kit, and lightweight jacket.
- External/quick-access pockets: To make your screening quick and easy, it’s best to put your passport, boarding pass, laptop, etc. here.
- Attachment points: D-ring connectors and external bungee cords are perfect for storing detachable pouches, sandals, jackets, sports equipment, etc. Just remember to remove them before flying to ensure your backpack fit the carry-on description.
CabinZero tips: Pack reasonably. That means no stuffing or overloading too much that the pack is so bulky or heavy that lifting it into an overhead compartment becomes a challenge. Plus, it can lead to additional screening and potentially costly fees for oversized luggage.
Keep Items From Shifting
After everything is neatly packed, use the compression straps if your pack has them. Furthermore, check if the backpack of your choice comes with a frame sheet (internal or external). These keep the whole bag and, in turn, the items structured and in place.
If you want to elevate your organisation game, consider using a packing cube set or two. The magic of packing cubes is a joy to discover (trust us, they are worth their weight in gold when you are on the road).
Use Both Shoulder Straps
We know it's tempting to go for that cool one-strap look, but you should avoid slinging your backpack over one shoulder like a cool kid from the '90s - it's a one-way ticket to back pain city. Always use both straps of your backpack to distribute the weight evenly across your shoulders.
Lift Your Backpack With The Right Posture
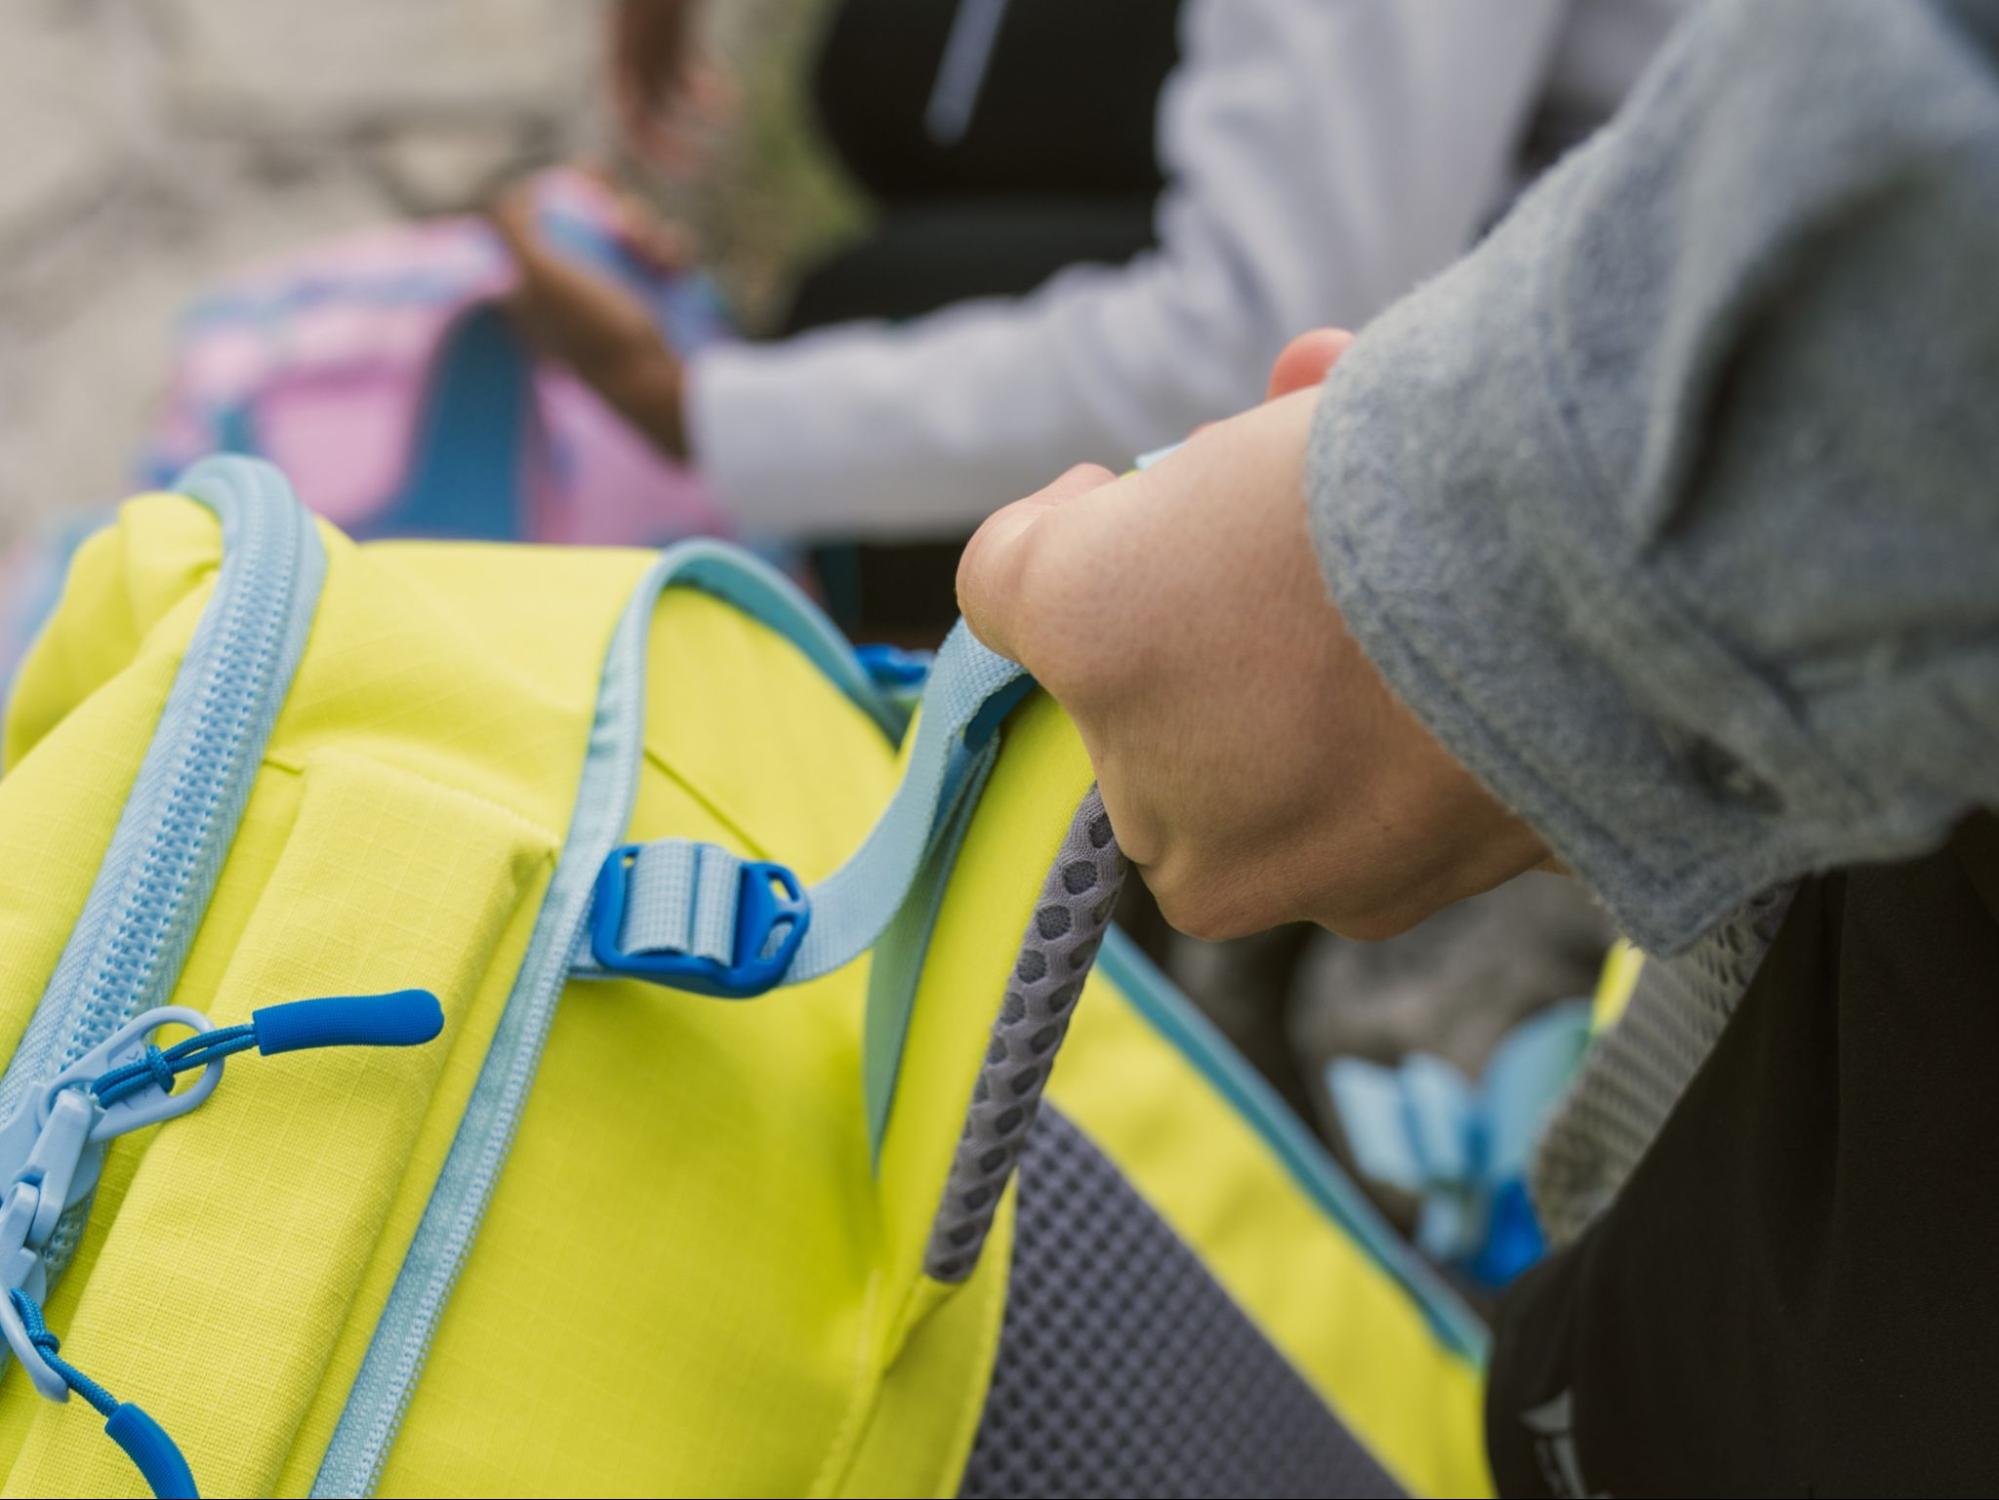
Lifting your backpack correctly is crucial to prevent injury, especially if it's heavily loaded. Here’s how to lift your backpack with the right posture:
- Before lifting, position your backpack standing upright next to your feet. If it’s lying down, you can use the side handles
- Grasp the backpack by its top handle with one hand and stabilise the bottom with the other hand.
- Squat down and keep your back straight as you lift the backpack
- Remember, lift with your legs and knees instead of your back
- If the load is particularly heavy, lift it onto your thigh first (while kneeling with the other knee), then adjust your stance to stand up
- Once you have lifted the backpack up to thigh height or waist height while standing, slide one shoulder strap on at a time.
- After placing the backpack on your back, immediately adjust the shoulder straps, hip belt, and any other stabilising straps to ensure the weight is evenly distributed and sits comfortably on your hips.
Find Your A CabinZero Backpack Fit
We offer various backpack sizes and fit so you can find what you need for your upcoming adventure. Opt for the 28L backpack size if you want a personal item that fits almost all airline size restrictions.
CabinZero Backpack Size Calculator Based On Back Panel Length
|
Backpack |
Back Panel Length (In) |
Back Panel Length (cm) |
|
14 |
37 |
|
|
14 |
37 |
|
|
16 |
42 |
|
|
17 |
43
|
|
|
16 |
40 |
|
|
18 |
46 |
|
|
16 |
41 |
|
|
18 |
46
|
|
|
16 |
41 |
|
|
17 |
44 |
|
|
18 |
47
|
|
|
16 |
39 |
|
|
16 |
43
|
CabinZero Backpack Size Calculator Based On Volume
|
Volume |
Torso Length (in) |
Torso Length (cm) |
Recommendations |
|
28L |
15 - 19 |
38-48 |
Day hikes, school, and daily commute |
|
32L |
15 - 22 |
38 -55 |
Day-to-day use, light outdoor activities, overnight trips. |
|
36L |
16 - 24 |
40-60 |
Weekend hikes, small multi-day tours, light travel. |
|
42L |
18 - 26 |
45-65 |
Multi-day hikes, travel, and camping trips up to 3 days. |
|
44L |
17 - 26 |
43-65 |
Extended travel, adventure trips, multi-day outdoor excursions. |
How Is Volume On CabinZero Backpack Measured?
To measure backpack size in litres, we follow the ASTM F2153-01 international standard: filling the main compartment, as well as each pocket, with little balls. Afterwards, we pour the balls into a graduated container and, from there, devise the precise backpack volume in litres.
Here’s how we do it in action.
Ready To Find Your Perfect Pack Size?
The key to finding the right backpack size and fit is not just about measuring—it's about understanding how it complements your movement and meets your needs. Explore our collection of adventure-ready backpacks and find your perfect match.
A good fit is just one ruler away, but don't overlook essential features like padded hip belts, a chest belt, and load lifters. The perfect backpack should be an extension of your body, moving with you seamlessly, whether you're scaling a mountain or exploring the urban jungle.
How does your backpack stack up? Share your experience in the comments below to help others find their perfect match. Think this article could help your fellow adventurers? Share it on social media and get the conversation started.
Bao Tieu

